
With YumiSign for Microsoft Outlook, create your projects directly from Outlook, in a few clicks.
Set up YumiSign for Microsoft Outlook
- Log in to your Office 365 account and open Outlook
- In the main menu, click on "Get Add-ins"

- In the add-ins menu, search for "YumiSign" then click on add
Create a new project
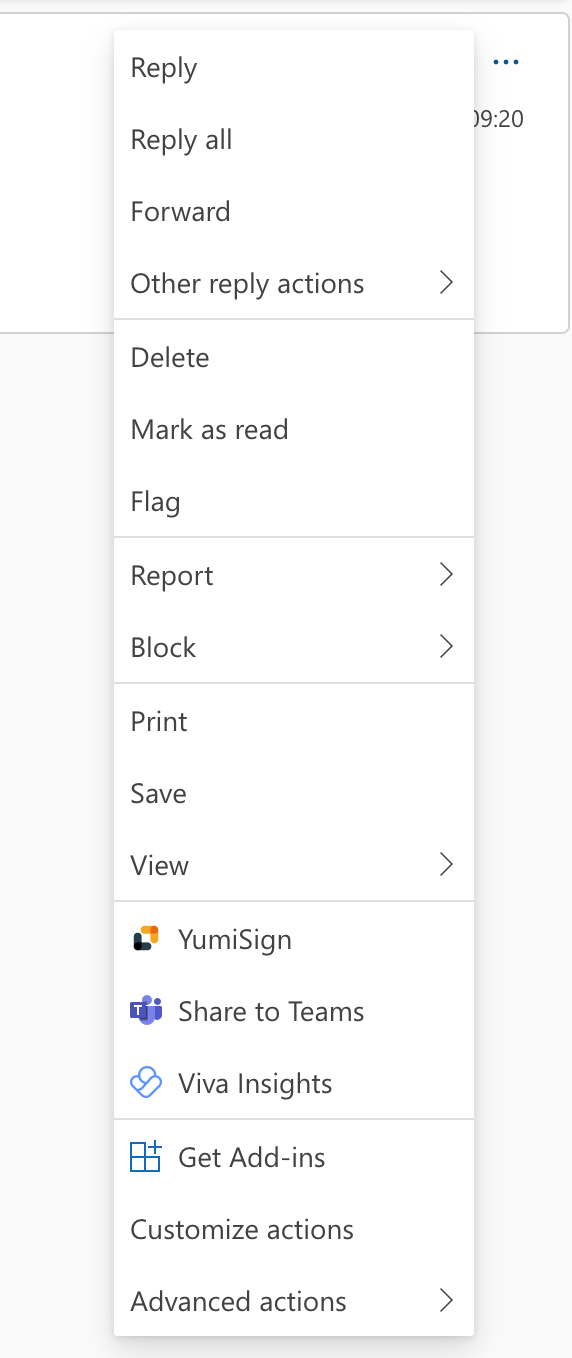
To create a new project, your inbox mail must have a compatible file attached. Click on "More actions" then on "YumiSign" to open the side panel:
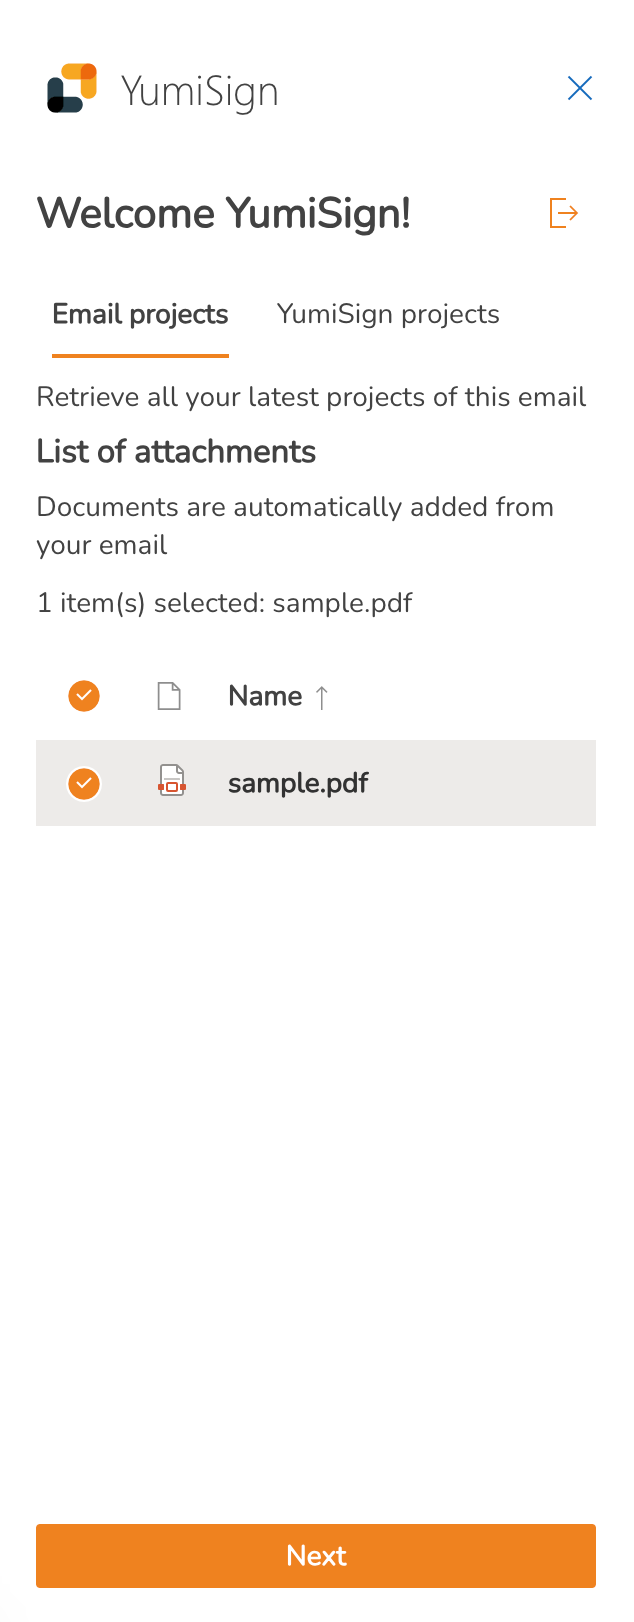
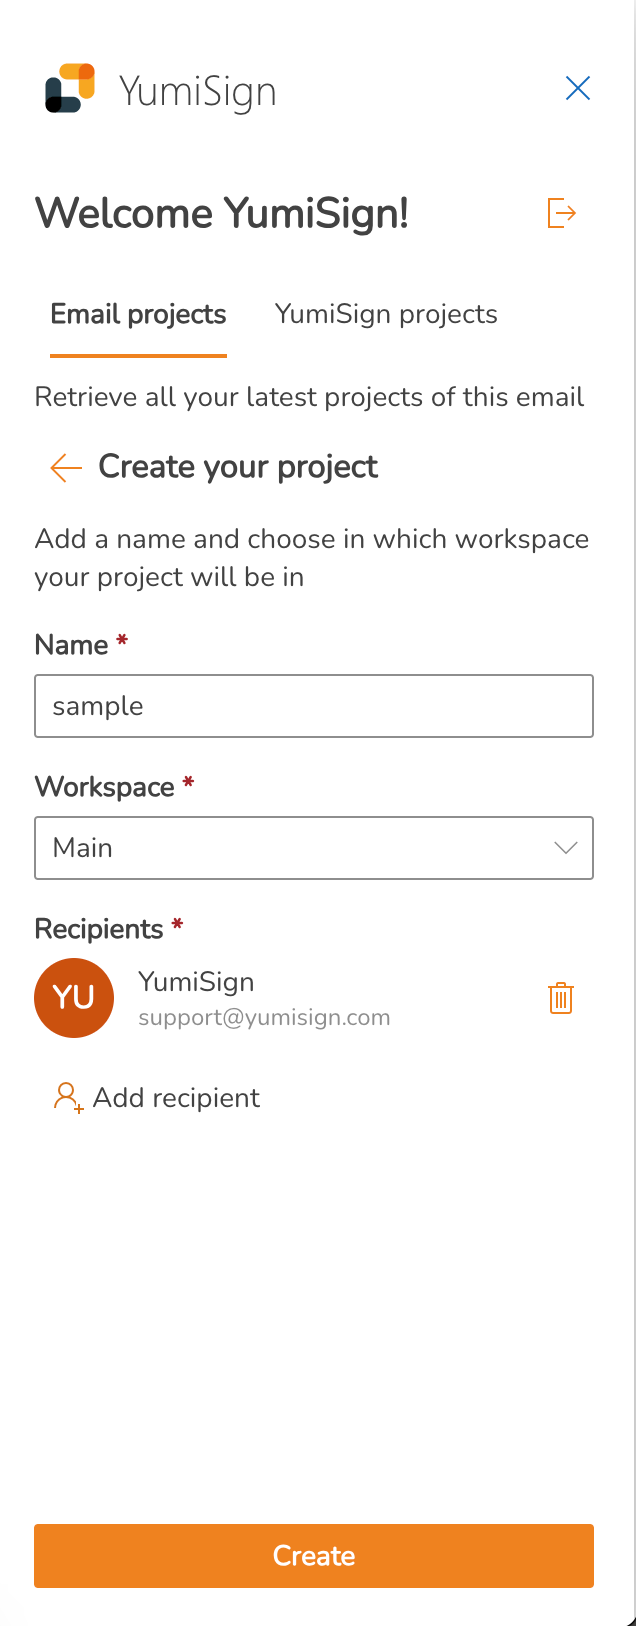
Click "Next" to start the creation process. Your project will automatically be named after your document name, but you can rename if you want. Select your workspace, add recipients and fields, and click on "create".
See your current projects
In the YumiSign add-in, you can see and manage your current projects, created from Outlook:

Send the signed document
Once your project finished, you can send the signed document through Outlook, by clicking on the "Reply" button:
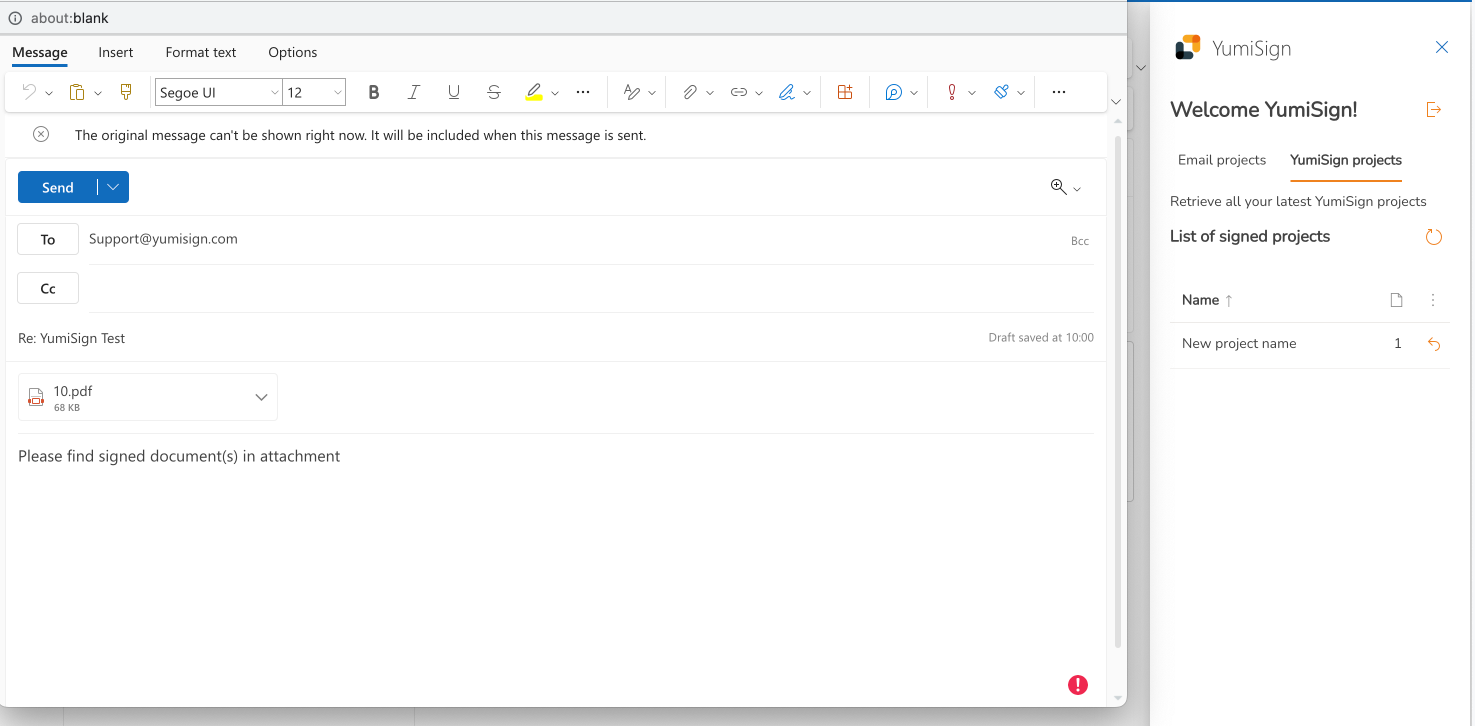
Now simply write your email as you would normally do and send your document.