
With YumiSign for Gmail, create your projects directly from Gmail, in a few clicks.
Set up YumiSign for Gmail
- Log in to your Gmail account
- On the right bar, click on the "+" icon
- In the marketplace, search for "YumiSign", then click on "Install"
- The YumiSign logo should appear in the right bar, click on it:

- Click on "Authorize Access":

- If you have an account click on "Login", or else click on "Sign up":

- Authorize Google Workspace to access YumiSign:

Your plugin is now set up and ready to be used.
This procedure will authorize all Google apps in your YumiSign account, so you will not have to redo the procedure for another Google product.
Create a new project
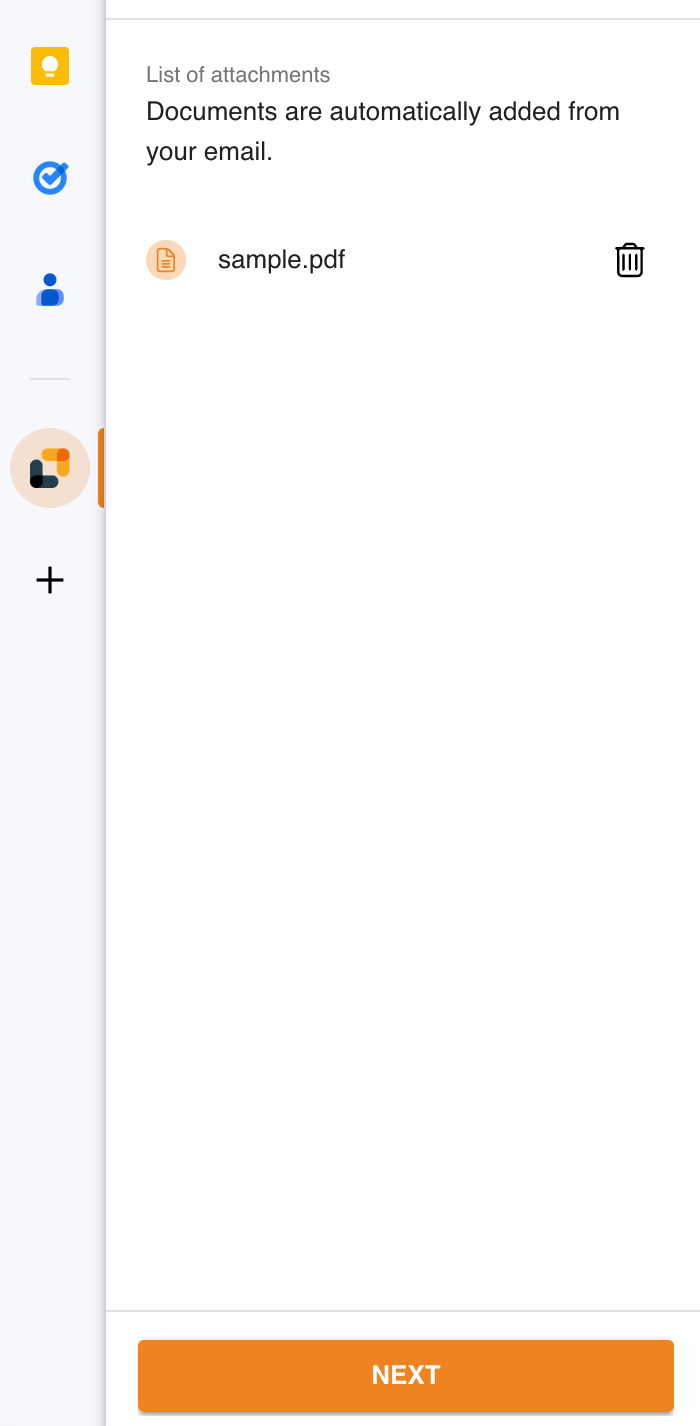
- Open an inbox email with an attachment. You should see the attachment in the right bar. Click on "Next":

- Name your project, select your workspace, select your recipients and add your fields, then click on "Create":

Your project is now created.